Tuesday 10 September 2019

We have a floor!

We prepped the floor (leveled and compacted soil, then put down vapour barrier, then dense rigid foam insulation, also chipped off some cement from the cement footers we had done years ago, because you don't want to have sharp 90 degree angles where cement touches cement since it needs something to grab onto), dug the greywater trench in the front hallway (which is 2 ft wide and something like 14" deep on the greywater input side, about 3 ft deep and 3 ft wide on the reservoir side (the water in the reservoir gets used as input for the toilet when it gets flushed), and it's all sloped so the greywater flows from the input side to the reservoir side by way of gravity. Then the professional cement crew came and framed the greywater trench, poured a first round of cement, made a rebar grid on the floor for the big pour, poured the cement for the big concrete slab, levelled it, and polished it off with some big fan blade looking thing, that a guy pushes across the floor when it's partially set. We waited almost a week to start moving in some of the lighter items.


Wednesday 4 September 2019

Cement floor about to be poured

We've leveled out the compacted sand/soil, then out down thick poly as a vapour barrier (taping the overlapping sheets of poly together using some blue tuck tape that is specific for vapour barrier and can get wet but still stays sticky), then put down on top of that a layer of dense rigid foam insulation from Greenstone Structural Solutions, a Canadian manufacturer that makes construction materials, with focus on green composite technology. The insulation is too dense for rodents to chew through, and higher R value than stuff on the market that is 3 times thicker (this stuff is 4 inches thick). On top of all that, there's a grid of rebar for structural support for the concrete that will be poured.
Back left pipe is for kitchen sink, middle right pipe is for toilet, front left pipe is for bathroom sink. Wrapped in the thin foil insulation a few times to give some protection/separation between the pipes and the concrete.


Concrete truck is here. Trying to keep out of their way.

Monday 3 December 2018

More Roof Photos

The metal roofing was completed just in time in late September/early October, but I forgot to post photos! These were over the coarse of a few days, taken either before I left for work or after I got back. Lots got done while I wasn't there!
10 inches of fancy rockwool insulation.

Everything custom cut


So much insulation that now the roof is a good foot taller than it was. Added some matching metal to the sides, and then painted the remaining exposed wood with special hydrophobic paint.


Put eavestroughs up but I don't seem to have photos of that.

Will have to tinker with the sky vents in the spring. Their opening mechanism needs changing because of the additional height to the roof added by the insulation.

One pooped pup.

Sunday 16 September 2018

Summer 2018 recap

Wow I haven't posted in a year! This summer (2018) we finished fencing our entire 10 acres. About 1/3 of each of two sides we had previously done, so we finished those two sides, and put fence posts and fencing along the remaining two sides. IT was a lot of work.

As for the earthship, we should have the metal roofing on within the next week or so. Rain in August and now September has been delaying things. Here are some progress pics:


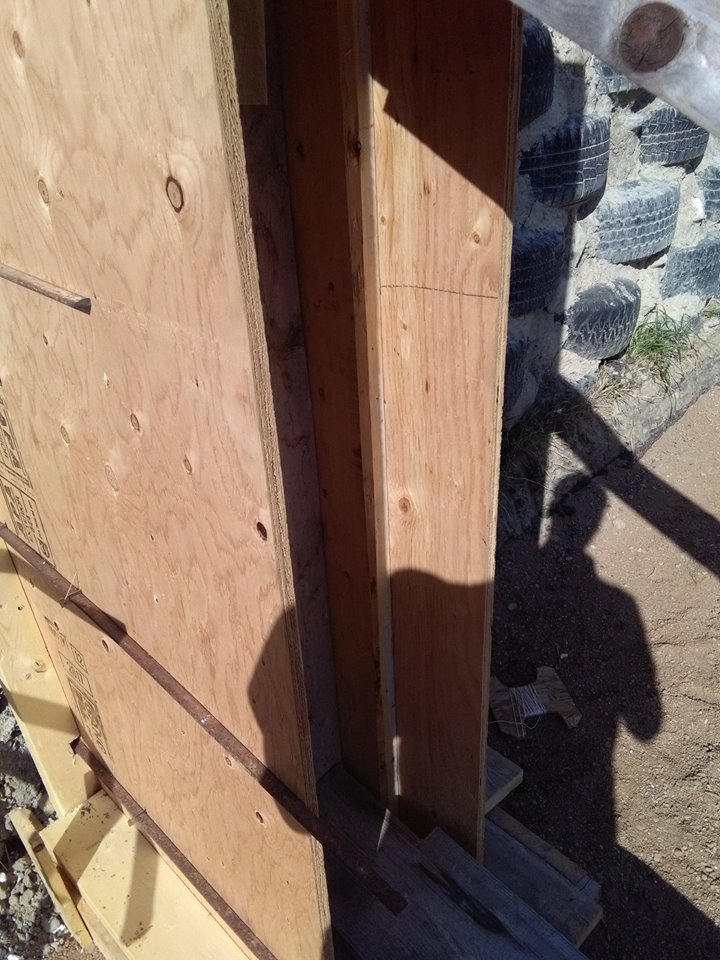
To try things our floor-wise, we put down poly (vapour barrier) on half the floor, followed by 4 inches of rigid foam insulation, then osb plywood. We'll see how it goes heat-wise on our feet. The flooring is just temporary and we'll likely redo it next year, with some 2x4's framing around the insulation so we have something to staple the osb to, to keep it from shifting around.

Friday 29 September 2017

All closed in!

The framing is all done! Had a local crew led by Scott Ramsay do the job. He's got loads of experience working on custom projects in the area. 
Inside. Black pipes sticking out are connected to the cisterns for water intake.

View of one of the skylight boxes from below.


Hylea checking out the new digs.

View from the roof. Skylights to the left, cisterns to the right.

Saturday 16 September 2017

Bond beam and buttresses done!

So many updates! We've finished the bond beam and buttresses with no problems. They look fantastic! Hired a local guy who does all sorts of custom jobs for farmers in the area.


Zilla checking things out and making sure the guys are working hard and being safe.